Powered By Blogger

Wednesday, October 31, 2012

Pumpkin Door Hanger


pumpkin mesh wreaths
 
More Deco Mesh!

Is there anything you can't make out of this stuff?

Using a small 4-ringed wire wreath maker should make this pretty simple.  Loop the deco mesh through the top two rings, then come back and use the bottom two to fill it in.

Tuesday, October 30, 2012

CC: The New BB


I got my first BB on accident, really. 
 
I was looking for a good nighttime moisturizer and I went onto www.sephora.com to see what was out there.  In the moisturizer section, I came across Dr. Jart+ Beauty Balm.
 
 
  I didn't do my proper research before I ordered it.  If I had, I would have known what a beauty balm was.  I had never heard of it to be honest.  On the evening the package came in the mail, I washed my face to get ready for bed, then squeezed some of my new BB onto my finger and saw that it looked like foundation to me.  When I rubbed it onto my face, I realized it was, in fact, foundation.  I ran to google (of course, doesn't everyone?) and quickly found out that BB is actually just another name for tinted moisturizer.  While it wasn't something I wanted to sleep in, I have continued to use it in place of foundation on the weekends and I love it. 
 
Now there is a new trend, the CC Cream.  CC means Complexion Correction, or Color Control,  or Complete Coverage, depending on who you ask.  Alexandra Samuel from www.self.com wrote, "Think of it as BB on steroids; major bennies, more pigment, better looking skin.  Or, as a favorite ad of mine read, "AA+BB=CC."  That's anti-aging plus beauty balm equals CC Cream."

The first to hit the United States is Olay Total Effects CC Tone Correcting Moisturizer.  It became available this month.  Chanel also makes a CC but as of right now, it's only available in Asia. 


Monday, October 29, 2012

Parmesan Pull-Aparts


I do like bread, but I'll admit that I usually forgot about it at meals.  I don't forget to eat it, I forget to cook it.  My husband loves it!  He is constantly reminding me how good a biscuit would be with this meal, or how much a piece of cornbread would be with that meal.  I just forget about it.  I'm so wrapped up in the entree that I don't think about anything else until the end.  Then do I really want to postpone dinner another 10-20 minutes while I cook bread?  Even canned biscuits in the oven take at least ten minutes!
 
I've made it an early New Year's Resolution to be better at remembering the bread.  Here is one that looks delicious.
 
 
PARMESAN PULL-APARTS
Recipe adapted from: allrecipes.com


  • 2 cans (7.5 oz each) refrigerated Homestyle Biscuits (I used Butter Lovin!)
  • 3 tablespoons Butter, melted
  • 1 teaspoon Garlic Powder
  • 1/2 teaspoon dried Parsley
  • 1 teaspoon dried Minced Onion
  • 1 tablespoon grated Parmesan Cheese
  • 1/3 cup shredded Mozzarella Cheese


Directions: Preheat oven to 425 degrees. In a small bowl mix together the melted butter, garlic powder, dried parsley, minced onion and Parmesan cheese. Spread mixture in the bottom of a 9 inch glass pie plate. Sprinkle the shredded mozzarella cheese evenly over the top of the butter mixture.

Remove biscuits from cans. Place biscuits close together over the top of the cheese and butter mixture. (You might not need all the biscuits. I had a few left over that wouldn't fit)

Bake biscuits in the oven for 12 minutes or until golden brown. Remove and let stand for 3 minutes. Turn biscuits upside down onto a serving plate. Serve warm!


Halloween Deco Mesh

Pinned Image
 
These mesh wreaths have become all the rage!
I made my first one for Halloween (this isn't it!) and while it wasn't perfect, I thought it was a pretty decent first attempt.
My friend Candace and I tried one for Christmas and it was better, I still have some practicing to do.
The thing I like about this one is the 2 different types of deco mesh that are used. It makes it look much more appealing and eliminates the need for a bow.
I'm not the worlds' greatest bow maker :(
 

Thursday, October 25, 2012

Candy Corn Bark

Pinned Image

And speaking of candy corn...

Candy bark is one of the easiest treats you can make.  These candy pieces are great to have around the house as a snack, or perfect to serve at parties.  Put in cute boxes or decorative bags, they make great gifts!

Here's what you’ll need:

2 cups milk chocolate candy melts
2 cups white chocolate (vanilla) candy melts
1/2 cup orange candy melts
1/2 cup yellow candy melts
About a cup of candy corn

1. Spread melted milk chocolate on a baking sheet lined with wax paper. I used a baking sheet that was roughly 9×13. Place baking sheet in the freezer for about 5 minutes until chocolate has hardened.

2. Melt white chocolate, and yellow and orange candy melts. Spread white chocolate evenly over milk chocolate layer.


3. Working quickly, spoon the orange and yellow candy over the melted white chocolate, randomly. Use a knife to draw swirls in the chocolate.

4. Before candy sets, sprinkle candy corns across the top of the bark, pressing gently to make sure it sticks.

5. Place pan in the freezer for about 5 minutes, then remove and break into pieces.
http://www.confessionsofacookbookqueen.com/2012/10/candy-corn-bark/

Candy Corn Oreo Truffles

Pinned Image

You guys know how much I love Oreo truffles.  In fact, when I make them, I always have to double my recipe because between my children, my hubby, and myself, we eat as many during the preparation process as we make!  When I first saw this recipe at twotwentyone.com, my first question was "How does she make them orange?".  When I continued to read, I found the answer:


According to Chelsea at twotwentyone.com, these Candy Corn Oreos (sold exclusively at Target) don't necessarily taste like Candy Corn. She says they taste more like golden Oreos and when they are in truffle form, they taste like cake batter.  Who doesn't like cake batter? 
 
 And they aren't necessarily this orange, either.  A few drops or orange food coloring (or a mix of red and yellow) should be added to get the vibrant orange shown in the pictures.  Chelsea suggests adding it to the cream cheese before you mix the cheese with the cookie crumbs. 
 
If you can't get your hands on the Candy Corn Oreos, don't fret!  You can use the Golden Oreos and just add extra food coloring. 


Note: I've had multiple people ask how I crush the Oreos into such fine crumbs. The answer?
I use a food processor. 
It crushes the crumbs to the fine consistency that makes the perfect truffle. 
 
Another hint:
I refrigerate the oreo balls for about 30 minutes to an hour before I dip them in chocolate.  This helps them maintain their shape.


Pumpkin Fudge

Pinned Image

Yield: 3 pounds of fudge
Prep Time: 20 min
Cook Time: 12 min
Fun, fall sweet treat.

Ingredients:

3 cups granulated white sugar
3/4 cup melted salted butter
2/3 cup evaporated milk
½ cup canned pure (unsweetened) pumpkin
2 Tablespoons light corn syrup
1 teaspoon pumpkin pie spice
One 12-ounce package white chocolate morsels (chips)
One (7-ounce) jar marshmallow crème
1 cup chopped pecans, toasted (optional)
1 teaspoon vanilla extract

Directions:

1. Line a 9-inch square pan with aluminum foil. Spray with nonstick spray.
2. Stir together first 6 ingredients in a 3 1/2- quart saucepan over medium-high heat, and cook, stirring constantly, until a candy thermometer registers 234° (soft ball stage) or for about 12 minutes.
3. Once mixture reaches 234°, remove from heat and quickly stir in the white chocolate, marshmallow creme, pecans (if using) and vanilla until well blended.
4. Pour into the prepared pan. Let stand 2 hours or until completely cool; cut fudge into squares.

Source: RecipeGirl.com (via Southern Living )

Today I Wore...

 
Top: Not sure of who made it but I got it at Macy's
Eggplant Chords: London from Victoria's Secret Catalog
Natural Crocheted Tom's
 

Wednesday, October 24, 2012

Panera Broccoli and Cheese Soup

Pinned Image

I've said it before and I'll say it again - I love soup no matter what the season, no matter what the weather.  I eat soup all year long.  One of my favorite restaurant soups is Panera Bread Broccoli and cheese soup.  So, you can imagine my excitement when I saw this recipe on food.com. 


Directions:

  1. Sauté onion in butter. Set aside.
  2. Cook melted butter and flour using a whisk over medium heat for 3-5 minutes. Stir constantly and add the half & half.
  3. Add the chicken stock. Simmer for 20 minutes.
  4. Add the broccoli, carrots and onions. Cook over low heat 20-25 minutes.
  5. Add salt and pepper. Can be puréed
 

Welcome Fall!

Pinned Image

The thing I like best about this no-cut pumpkin is that it can last beyond Halloween and last throughout the entire fall season (assuming, of course, you're using a plastic pumpkin).  The letters could be stenciled on or placed with a Cricut cut out.  This would look great on my front porch.

Candy Pails

Pinned Image

With a Cricut and a little ribbon you could make these pails as teacher or neighbor gifts, party favors, or just to have around your home as Halloween decoration.  Fill with candy and ta-da!

Tuesday, October 23, 2012

Pumpkin Pretzels

Pinned Image

Well, this looks easy!  Pretzels, white chocolate, orange food coloring and green M&Ms.  This would be a great party or snack idea.

Pumpkin Cupcakes with Cinnamon Cream Cheese Frosting


(adapted from Kraft)

1 box French Vanilla cake mix
1 & 1/2 teaspoons cinnamon
3/4 teaspoon ginger
1/2 teaspoon freshly grated nutmeg
1/8 teaspoon allspice
1/8 teaspoon cloves
1 (15 oz) can pumpkin
1 (8 oz) container sour cream
1/4 cup oil
3 eggs

for the frosting:
8 oz. cream cheese, at room temperature
6 TBSP salted butter, at room temperature
1 lb. powdered sugar
1 teaspoon vanilla
1 teaspoon cinnamon

Preheat oven to 350. Line 22 muffin cups with liners.

Whisk together the cake mix and spices. Add in the remaining cake ingredients. Mix on low until combined, then beat 2 minutes on medium.

Scoop the batter into the lined tins and bake for 20 minutes, or until done. Let cool in the pan for 10 minutes, then remove to cool completely on wire racks.

To make the frosting, beat together the cream cheese and butter until combined. Add the sugar in three additions, scraping the bowl as needed. Beat in the vanilla and cinnamon.

(If frosting the cupcakes generously, like these roses, double the recipe.)

http://bakeat350.blogspot.com/

Monday, October 22, 2012

Candy Corn Deco Mesh

Candy Corn Deco Mesh Wreath
 
Candy Corn Deco Mesh on a wreath hanger.
Looks fairly simple to make, I just wonder what they are using as the base to get the triangular shape.  I suppose I could get some regular wire and shape it how I want it.  Must try this!

Tulle

Pinned Image

Pumpkins with tulle and ribbon.

Today I Wore...

 
Dress: by Angie (Almost Pink Boutique)
Shoes: Big Buddah

For My Next Writing Lesson...

laughed to tears, omg!


bwahahaha

Friday, October 19, 2012

Witch Fingers

Pinned Image

I've seen several versions of these cookies but these look the spookiest.   This is store-bought sugar cookie dough, sliced almonds, and cinnamon or cocoa powder.  I think the placement of the cinnamon or cocoa that make them look realistic. 

A Witch's Tutu


A Wreath Bewitched

Reblogged from lemontreecreations.blogspot.com

I don't know about you, but when I think of holidays I automatically go for the "cute," especially when it come to Halloween! You can imagine that this love for all things holiday, cute and over the top lead to my most recent creation, a witch wreath.


It all started with the desire to make a tutu and hang it on my door. Alone I can assume the tutu would have been a bit much, but I was determined to make it work. So, I set to work and hot-glued (of course!) some inexpensive tulle to a small foam wreath.

Immediately I figured out that I needed some cute witchy legs to go with my tutu. I found a yummy combination of ribbons at one of my favorite craft hot spots and got right to work. I used thick, long purple ribbons to create the legs. Using hot glue I created some ruffled "leg warmers," topped with a little bow.

Next, I cut simple little witch shoes out of stiff black felt, and hot glued them under the ribbon details.

To personalize the wreath, I painted our last name on an inexpensive wooden plaque and hot glued it to the unfinished side of the tutu. I put all the other details together and I was finished!

I am mildly aware that this is a little crazy and over the top, but with that amount of polka dots I can't help but love it. Hopefully there is at least on idea of inspiration you can take form this and make it your own. If nothing else, just don't be afraid to be a little over the top when it comes to holiday decorating! It might surprise you how fun it is!


Today I Wore...


Top: Gap
Pants: American Eagle

Wednesday, October 17, 2012

Mummykin!

Pinned Image

Too Cute!

Spider Pops

Today I Wore...

 
Sweater - NY&Co
Pinstrip Pants - NY&Co
Sequined Leopard Ballet Flats - American Rag
 
Is it just me or has NY&Co been going downhill lately?  That used to be my go-to store for work clothes that were reasonably priced and still fashionable.  Here lately I haven't been able to find much of anything in there.  I'm not sure what is going on but they just don't seem to be keeping up with the changing of the trends.  I just happened to find this sweater there Saturday but there was little else in the store.  These pants I've probably had seven or eight years.  I hate to say it but our local mall just doesn't have much anymore.  NY&Co was about the only place I could count on to have something I liked, that was age appropriate (at my age, it's a fine line between trying to look too young and dressing like your Grandma) and in my price range.  I hope they get it back together soon.

No-Carve Pumpkin

Pinned Image
 
Another idea for a no-carve pumpkin.  Spray paint a pumpkin black and paint or cricut your message in silver.  Use the silver sticker stars and a silver ribbon to give it an extra tough.
 
from bhg.com

Tuesday, October 16, 2012

Pinned Image

I love this witch pumpkin!  I have some urns on my front porch that I usually fill with mums but I like this idea much better.  I may even have a hat somewhere.  I think I'm going to give this a try.

Today I Wore...

 
Cardigan - Loft
T shirt - Gap
Pants - Express

Friday, October 12, 2012

Skeleton Cupcakes


reblogged from Cookies & Cups


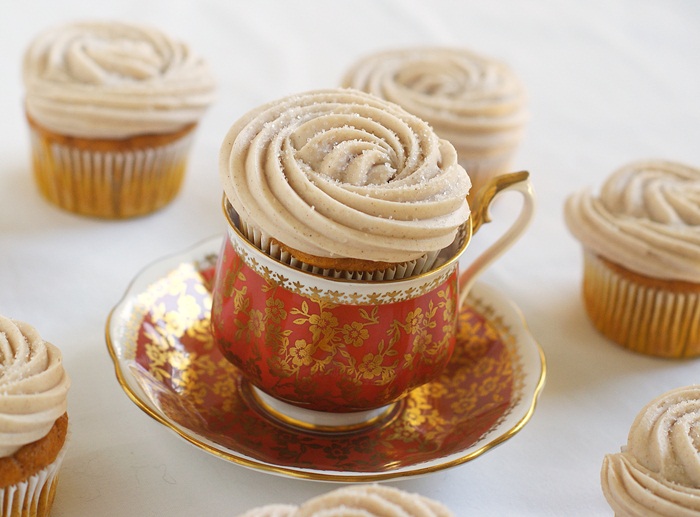
While searching the Internet for ideas I can use at my upcoming Halloween party, I found these cupcakes on several websites.  I originally saw them on Pinterest, and followed them to cookiesandcups.com.  There, I found out that she got the idea from Woman's Day.  I'm including all links because I certainly don't want to take credit for an idea that wasn't mine, but I felt like I had to include them in my own blog because they are just too cute! 
 
Here’s how to do it…
First bake some cupcakes. I used sprinkles on mine because I’m addicted to sprinkles. If you don’t share this addiction you can leave them off.
Next, assemble your supplies…
-white chocolate covered pretzels
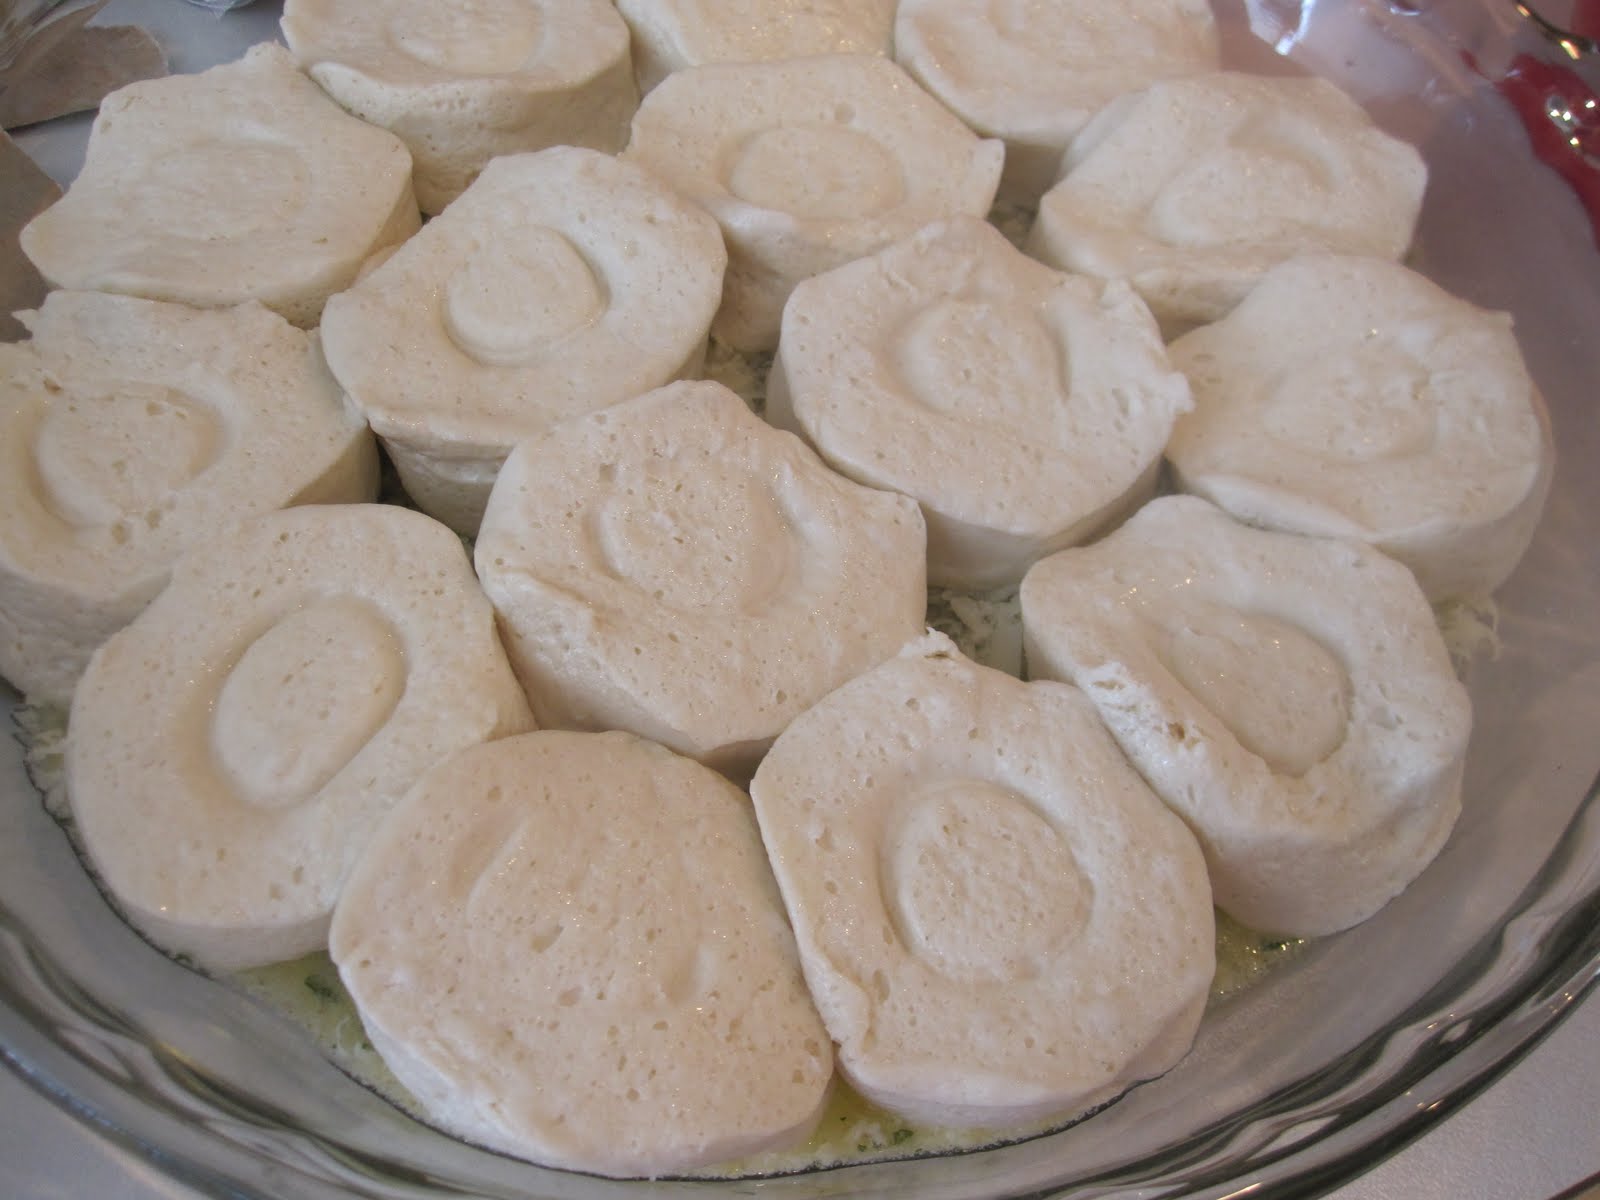
-large marshmallows
-lollipop sticks
-food writer (or black icing)
also reserve a little extra frosting…you’ll see why in a minute.
Cut an inch or so off the stick so it’s not so long.
Flatten your marshmallow slightly
Carefully press your stick into the flattened marshmallow
Next using your food writer or black frosting make a skeleton face…
Now you need to make his bones…
Slide on the pretzels. Here’s where your extra frosting helps. It holds the pretzels in place.
Now stick your arm-less skeleton into your cupcake.
So, he needs some arms…
Cut the top of some extra pretzels off. Do this carefully, otherwise the pretzels break. Trust me. I had to eat A LOT of pretzel casualties.
Now, with some more frosting carefully attach the arms.
Voila!
Your skeleton has come to life…
Aren’t they adorable??

http://cookiesandcups.com/skeletons-and-scenes-from-a-playground/